Add Your Transactions
Connect a bank, import a file, or add transactions by hand
Connect a Bank
Transactions come in from your bank. Needs Plus or Pro.
Import a File
A CSV or PDF statement, or a screenshot. Free on every plan.
Add by Hand
Type each one in. Free on every plan.
You can mix them. Connect a bank later and matching transactions are linked, not doubled.
Connect a Bank
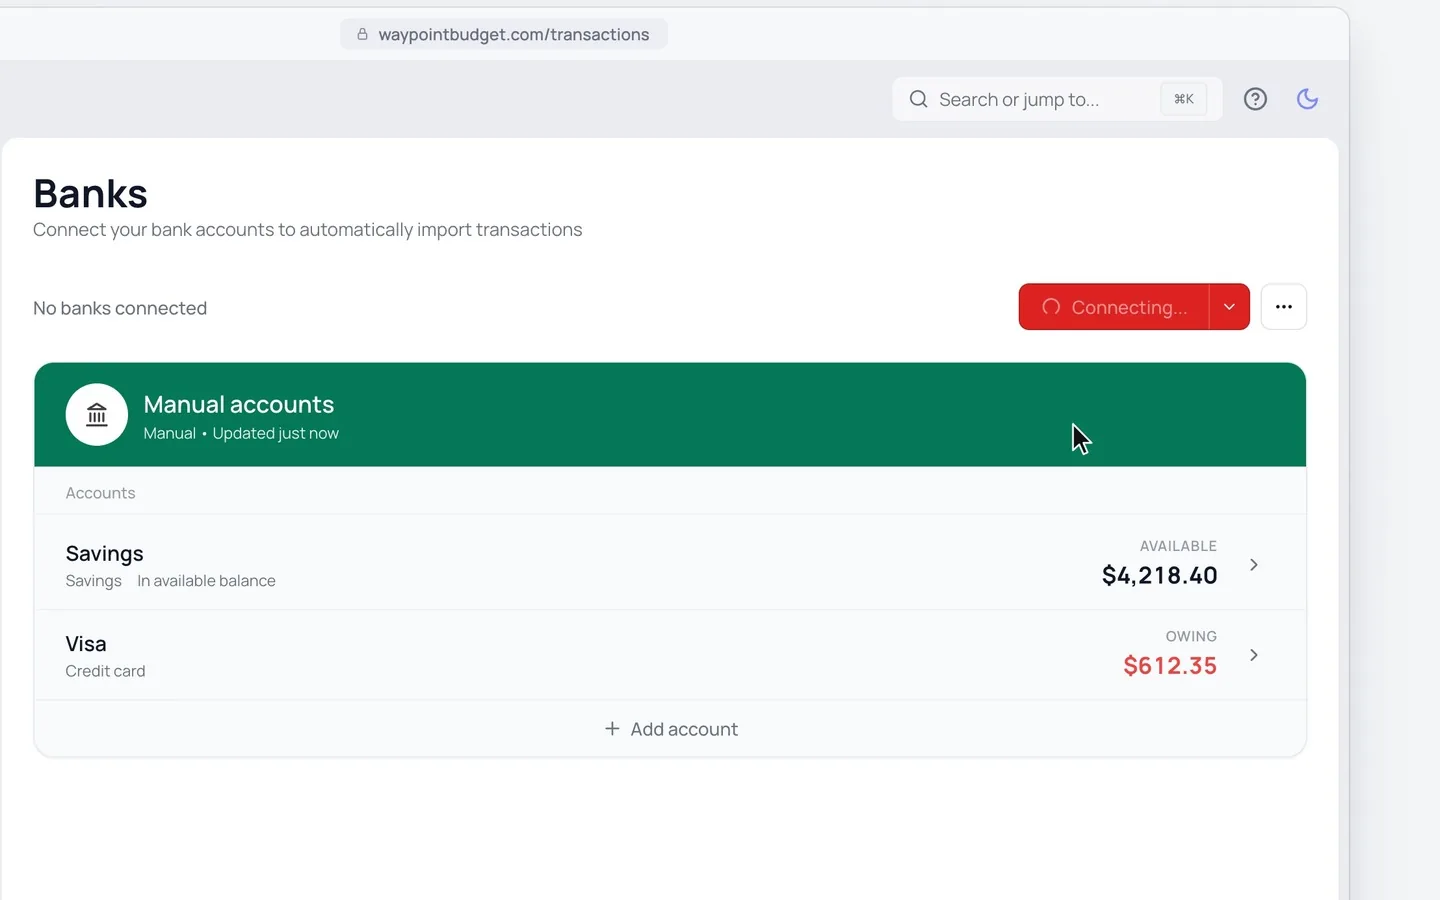
Plus connects one bank and all its accounts. Pro connects every bank. See Plans, Free Trial and Cancelling.
- 1.
Go to Banks.
- 2.
Click Connect Bank.
- 3.
Find your bank and sign in.
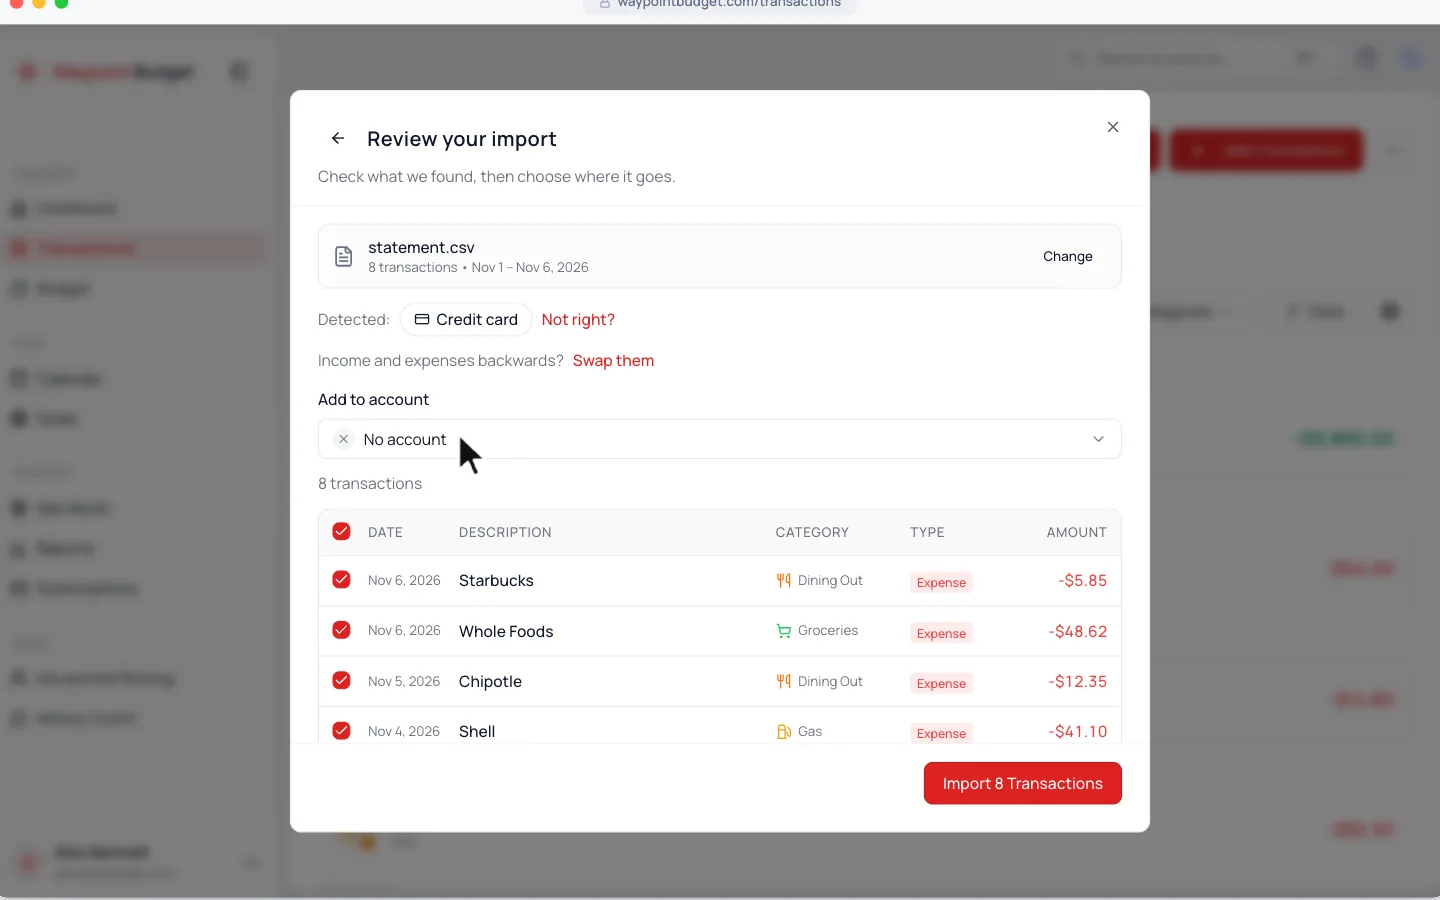
Import a File
- 1.
Go to Transactions and click Import.
- 2.
Drop in your files.
- 3.
Check the rows, then import them.
Rows you already have are skipped. Mint CSV exports work too.
Coming from Monarch, YNAB or Quicken?
Monarch, YNAB and Quicken files import during setup, under Switch from another app. See Switch from YNAB, Monarch or Quicken.
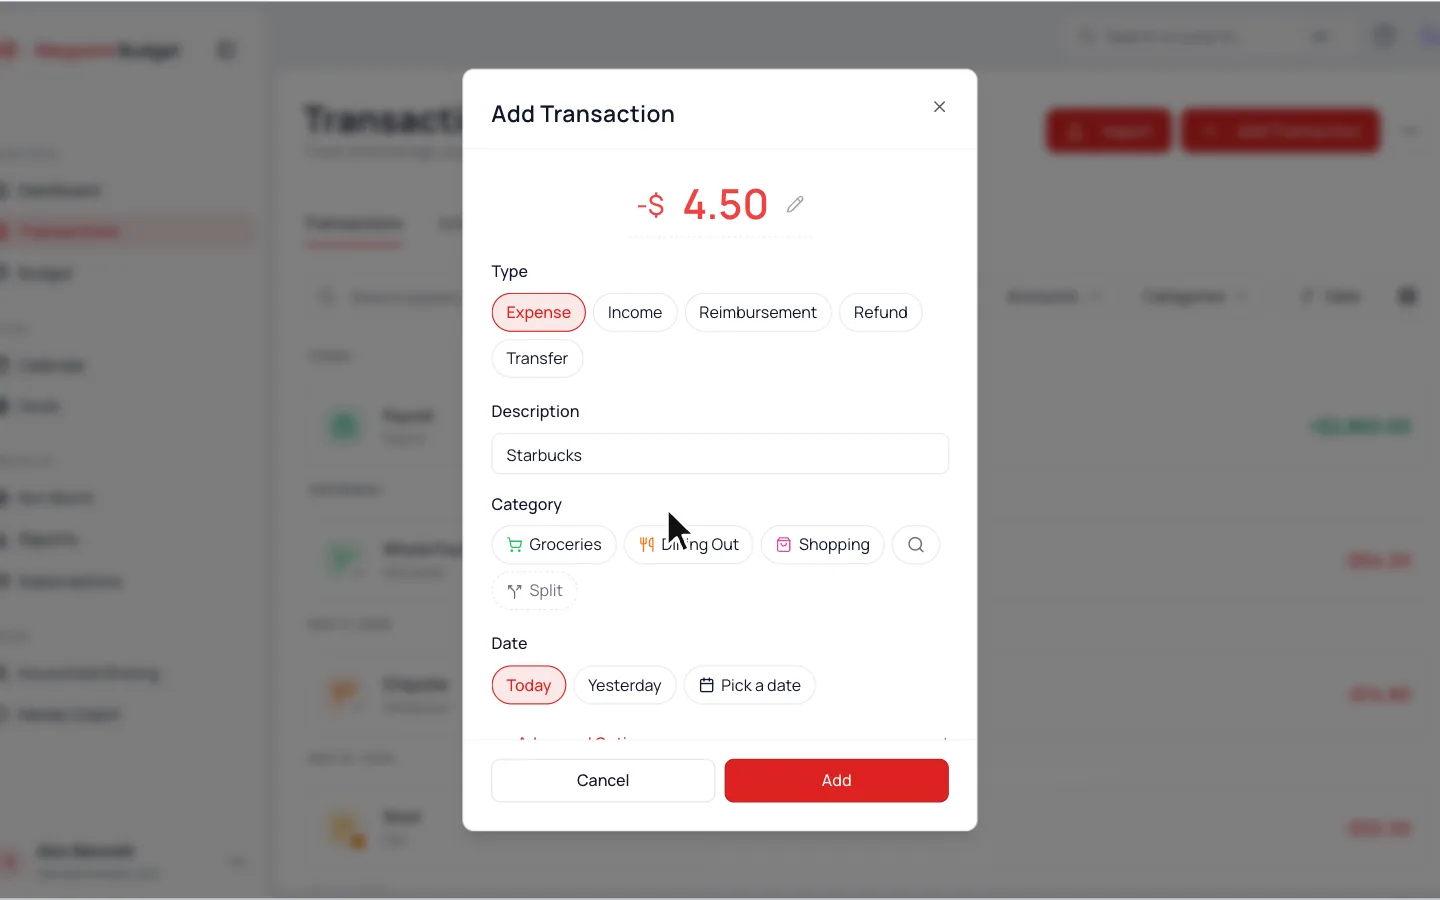
Add by Hand
- 1.
Go to Transactions and click Add Transaction.
- 2.
Type the amount and pick a category.
- 3.
Click Add.
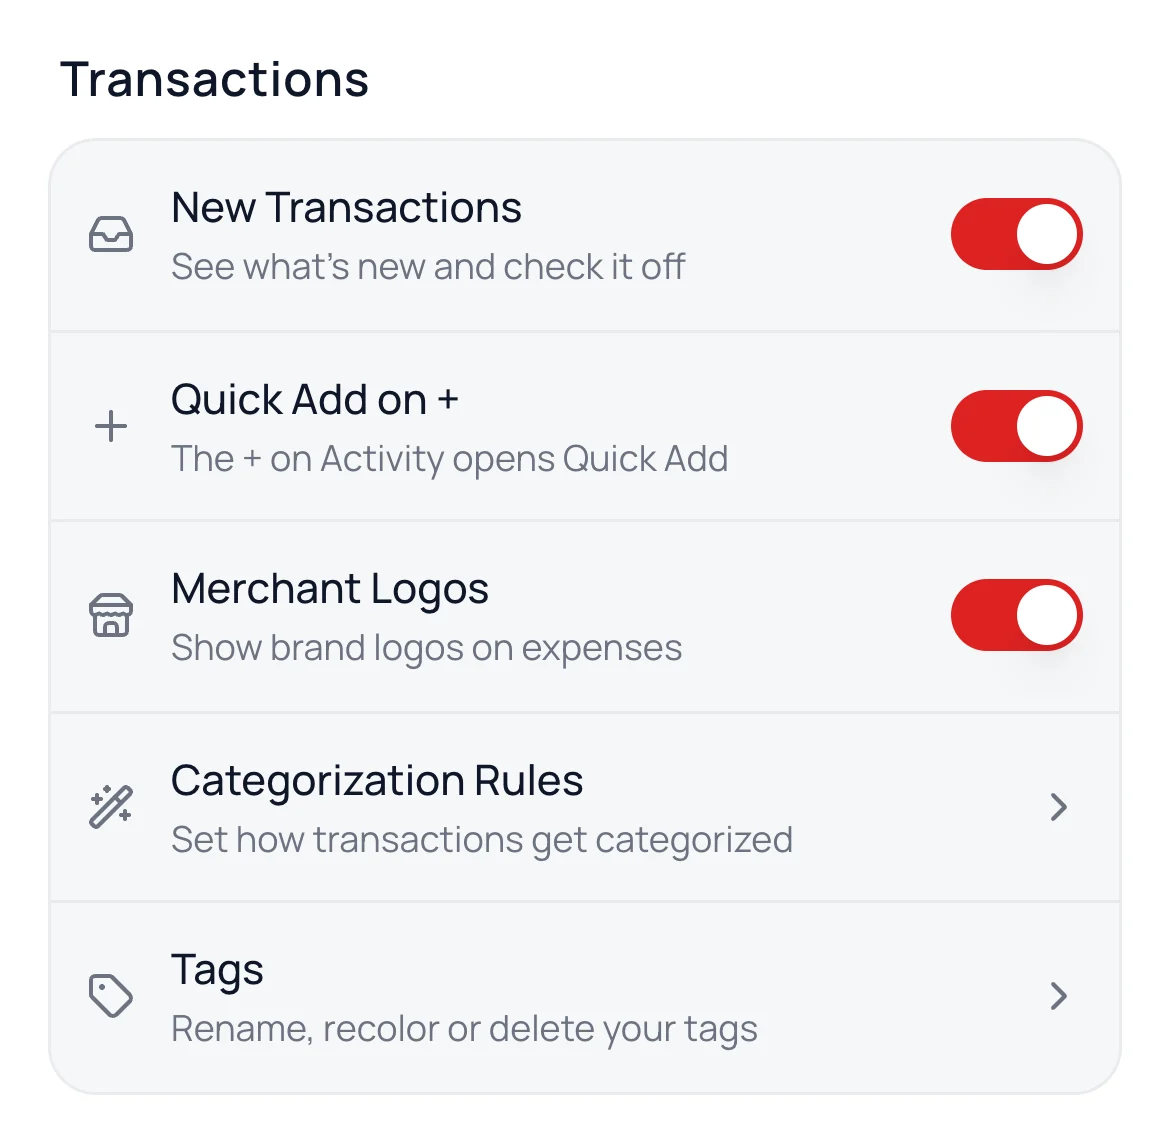
Does + open the full form on your phone? Quick Add on + is off in Settings. On a computer in compact view, Add Transaction opens a row in the list, and Save adds it.
Same expense every month, like rent? See Repeating Expenses.
Next Step
Still stuck? Use the ? at the top of the app to ask the Waypoint Guide, or message us. A person from our team will get back to you.